How to Fix Candle Tunnelling (And Stop It from Happening Again)
Wrap aluminum foil around the top of the jar, leaving a small opening above the wick, and burn for 1–2 hours. The trapped heat will melt the wax inward, flattening the surface. Prevention is better than cure: the first-burn rule (burning until the melt pool reaches the edges) stops tunnelling before it starts.
What Is Candle Tunnelling?
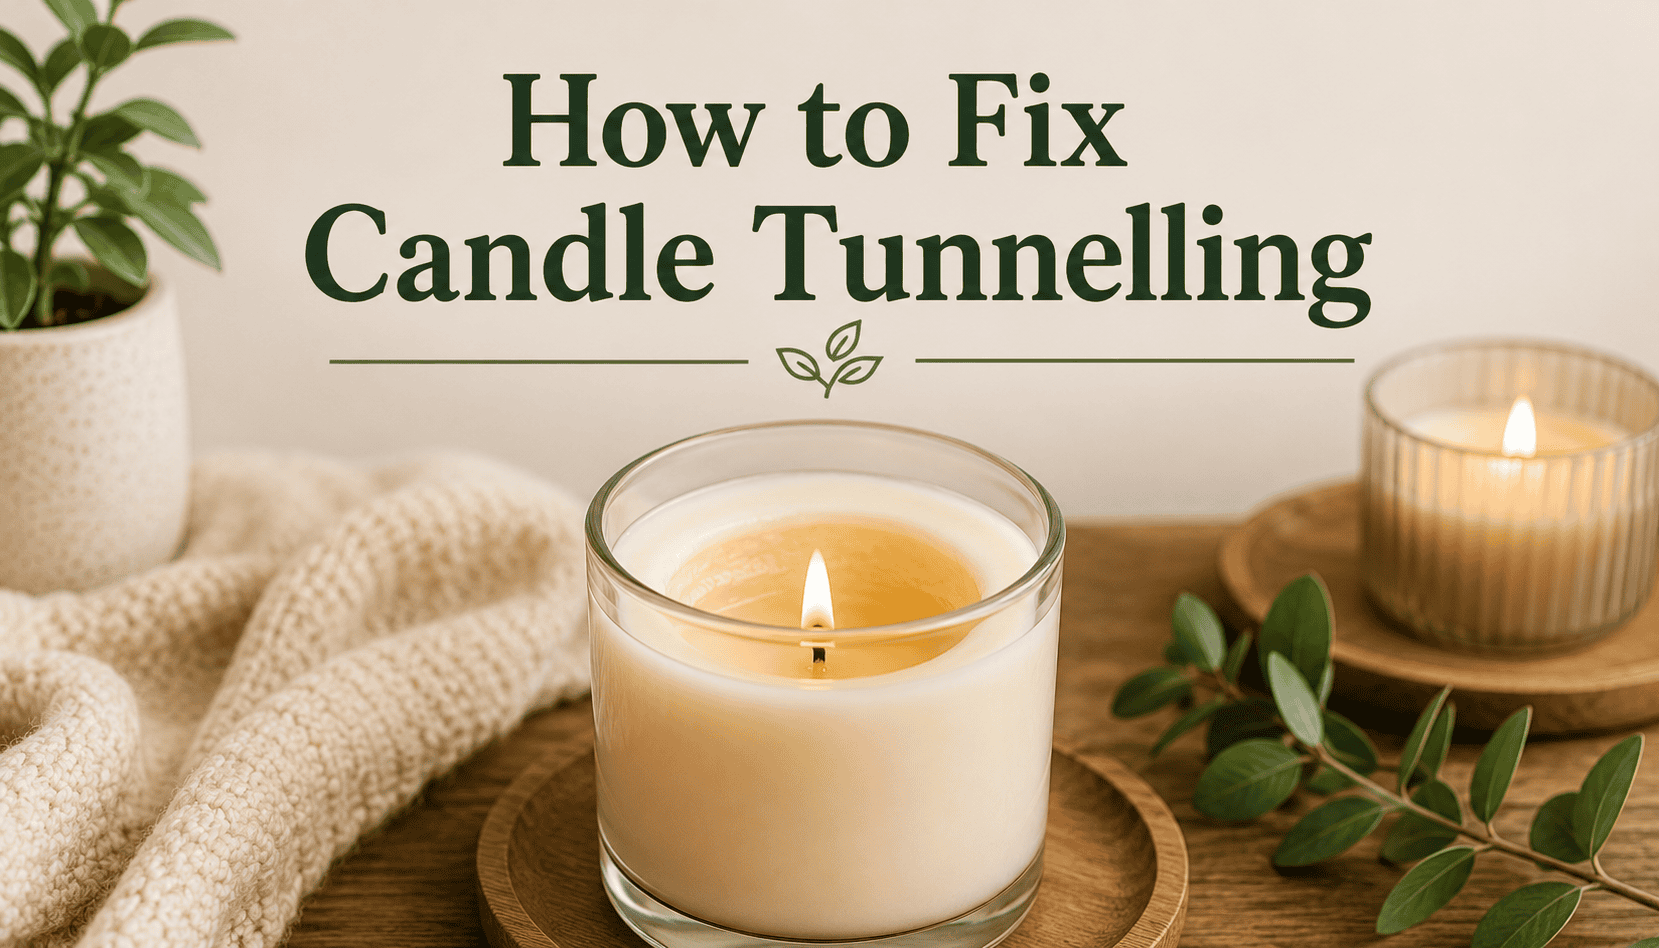
Candle tunnelling happens when a candle burns straight down the centre of the jar, leaving a thick wall of unmelted wax around the edges. The result is a narrowing tunnel into the wax, a candle that keeps getting harder to light, loses most of its scent throw, and wastes a significant portion of its usable wax.
A severely tunnelled 8-oz candle can waste up to 30–40% of its wax, meaning you lose a third of what you paid for.
Why Does Candle Tunnelling Happen?
| Cause | Explanation |
|---|---|
| Short first burn | The most common cause. Wax has burn memory , it only melts as far as it did on the first burn. |
| Wrong wick size | A wick too small for the jar diameter produces a flame too weak to melt to the edges. |
| Cold environment | Very cold rooms reduce the melt pool diameter. |
| Short burn sessions | Burning for only 30–45 minutes prevents a full melt pool from forming. |
The first burn is almost always the culprit. Many people light a new candle, burn it for 30 minutes, and then blow it out. The wax remembers the melt pool depth and diameter and follows them for every subsequent burn.
How to Fix Candle Tunnelling: Step-by-Step
Method 1: The Aluminum Foil Method (Best Results)
What you need: Aluminum foil, your tunnelled candle, and patience.
- Tear a piece of foil large enough to wrap around and over the top of the jar with some overlap.
- Wrap the foil around the top rim of the jar, folding it over to form a domed lid above the candle.
- Tear or fold a small opening (about 2–3 cm) directly over the wick so the flame has airflow.
- Light the candle and burn for 1–2 hours.
- The foil traps heat, raising the ambient temperature inside the jar and melting the wax walls inward.
- Check every 30 minutes. When the wax surface has levelled, remove the foil carefully (it will be hot), extinguish the flame, and let it cool fully before the next burn.
Safety note: Never leave a foil-wrapped candle unattended. Check it regularly.
Method 2: The Heat Gun Method (Faster, Requires a Tool)
- Use a hair dryer on a low-heat setting or a proper heat gun set to low.
- Direct warm air around the wax walls (not at the wick) in slow circular motions.
- The walls will soften and begin to melt inward within a few minutes.
- Once level, let the candle cool completely before burning.
This method gives precise control but can be overdone easily; use the lowest heat setting and work slowly.
Method 3: The Oven Method (For Severe Tunnelling)
Only for glass jar candles. If the tunnel is very deep and the foil method hasn’t worked after multiple attempts:
- Remove the wick holder clip if possible.
- Place the open jar in an oven at 170°F / 77°C for 5–10 minutes.
- The wax will melt and level itself.
- Remove carefully (the jar will be hot), re-centre the wick, and let cool completely at room temperature before burning.
How to Prevent Tunnelling: The First Burn Rule
Prevention is always better than a fix.
The single most important candle care rule: on your first burn, let the candle burn until the entire top layer of wax has melted from edge to edge of the jar.
| Candle Size | Time Needed for Full First Burn |
|---|---|
| 4 oz | 1.5–2 hours |
| 8 oz | 2–3 hours |
| 10 oz | 2.5–3.5 hours |
| 12 oz | 3–4 hours |
This sets the “burn memory” of the wax. From that point on, the wax will melt to that diameter every time you burn it.
Other prevention habits:
- Trim the wick to ¼ inch before every burn. A longer wick produces a larger, hotter flame that can actually worsen uneven burning
- Burn for at least 1 hour per inch of jar diameter; a 3-inch diameter jar needs at least 3 hours to form a full melt pool
- Avoid short burns, never burn for less than one hour; it never gives the melt pool time to develop properly
Will a Tunnelled Candle Fix Itself?
No. Soy and coconut soy wax will not self-correct. Once the burn memory is set, it stays set unless you intervene with the methods above. The tunnel will deepen with each subsequent burn until the wick drowns in its own wax pool and goes out permanently.
Fix it early; the sooner after the first bad burn you apply the foil method, the more wax you save.
The Oven Method (For Severe Tunnelling)
When the tunnel is deep, and the foil trick is taking forever:
- Preheat the oven to its lowest setting, around 80°C / 175°F
- Place the candle (heat-safe glass jars only) on a baking sheet
- Warm for roughly 2 minutes, until the top surface melts level
- Remove with oven mitts and let it cool completely before relighting
This resets the whole surface at once, the nuclear option when the walls are thick.
Sinkhole vs. Tunnel: Not the Same Problem
A quick distinction worth knowing. A tunnel develops over multiple burns from short burn sessions. A sinkhole is a cavity that was there from the start, an air pocket formed as the wax cooled during manufacturing. Sinkholes are a making flaw, not a burning mistake; the fixes above still work, but if a brand-new candle arrives with a crater around the wick, that’s on the maker, not you.
Same goes for underwicking: if you’ve done everything right, long first burn, trimmed wick, no draughts, and the candle still tunnels, the wick is likely too small for the jar’s diameter. That’s a design flaw. No foil trick fully fixes an underwicked candle; it’s a reason to buy from makers who properly test their wicks.
When the Wick Is Buried Too Deep
If tunneling has left the wick drowning at the bottom of a wax pit and it barely stays lit: extinguish, and while the wax around the tunnel is soft, scoop out enough of the surrounding wall with a spoon to give the flame air. Save the scooped wax for wax melts, then run the foil fix on the next burn to level the rest.
Frequently Asked Questions
Can you fix tunnelling in a soy candle?
Yes, the foil method works well on soy and coconut soy candles. Because soy wax has a lower melt point than paraffin, it responds well to the trapped heat from the foil technique.
Why does my new candle tunnel immediately?
Almost always a short first burn. Even 15 minutes too short on the first burn can set a tunnel. If a brand-new candle tunnels, apply the foil fix immediately before the pattern is established.
Can I fix a candle that has been tunnelling for a long time?
Yes, but it takes more effort. Deep tunnels may require 2–3 foil sessions to fully level. Very deep tunnels (over 2 inches) are best addressed with the oven method.
Does the type of wax affect tunnelling?
Yes. Coconut soy and pure soy waxes are more prone to tunnelling than paraffin because they have softer, lower-melting-point wax. However, they also respond better to the foil fix for the same reason.